Introduction
Vue Native is a mobile application development framework to build native mobile app using Vue.js. It is specially designed to combine the flavours of React Native with the ease of Vue.js.
It is basically a wrapper around React Native and allows us to use Vue.js which actually compiled down to react native code. Recently, Vue Native is becoming one of the latest competitors in mobile app development using web technologies.
Installation
There are two different ways to install and set up a new project.
System Requirements
					[node](https://nodejs.org/en/) >= 6.0 Installed Globally
[npm](https://www.npmjs.com/) >= 4.0 Installed Globally
[React Native CLI](https://facebook.github.io/react-native/docs/getting-started.html) which allow you to easily create and initialize projects. Installed Globally
Process 1 : Setup using Vue Native Cli
Assuming that you have globally installed create-react-native-app.
Step 1: Create A New Project
					npm install -g vue-native-cli
vue-native init <projectName> // Initializes crna project
vue-native init <projectName> --no-crna // Initializes react-native project
cd <project-name>
Step 2: Running The App
npm start
npm run ios
npm run android
Use this command to run your app on a connected Android device or emulator.
Process 2 : Setup using React Native
Step 1: Create A React Native Project
					react-native init <projectName> --version <version> /* Version should be <= 0.55.4
cd <projectName>
Step 2: Install Vue Native
					npm install vue-native-core vue-native-helper --save
npm install vue-native-scripts --save-dev
Step 3: Configure the React Native Packager
Create vueTransformerPlugin.js file to your project’s root and specify supported extensions(vue):
For React Native version 0.52 or later
var upstreamTransformer = require("metro/src/transformer");
var upstreamTransformer = require("metro-bundler/src/transformer");
var upstreamTransformer = require("metro-bundler/build/transformer");
					var vueNativeScripts = require("vue-native-scripts");
var vueExtensions = ["vue"];

module.exports.transform = function({ src, filename, options }) {
  if (vueExtensions.some(ext => filename.endsWith("." + ext))) {
    return vueNativeScripts.transform({ src, filename, options });
  }
  return upstreamTransformer.transform({ src, filename, options });
};
Add the following code snippet to your rn-cli.config.js (make one inside your project’s root directory if you don’t have one already):
					module.exports = {
  getTransformModulePath() {
    return require.resolve("./vueTransformerPlugin.js");
  },
  getSourceExts() {
    return ["vue"];
  }
};
Step 4: Create A Vue File
<template>
<view class="container">
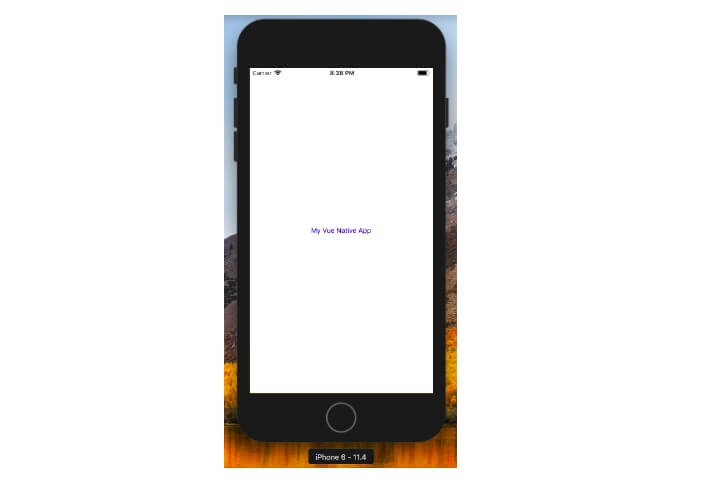
<text class="text-color-primary">My Vue Native App</text>
</view>
</template>
<style>
.container {
background-color: white;
align-items: center;
justify-content: center;
flex: 1;
}
.text-color-primary {
color: blue;
}
</style>
Now you are ready to build and run your app.
Step 5: Running The App
react-native run-ios
react-native run-android
Use this command to make an iOS build and run it on a simulator.
I would prefer the process 2 as it defines the steps how a react native app is created first and then configured for vue js. You can use any of them.
After installation if you run your app you will get a view as following.
Debugging and Live Reload
After the initial setup the most important point for the development is debugging and live reload. For debugging you can use react-devtools.
After installing the app on your phone or emulator using the command:
react-native run-android
do the following steps to enable the debugging and live reload:
On Emulator : Click on emulator and press CTRL + M (CMD + D on MacOS)
Or
On Device: Open your app and shake the device.
It will open a menu as follows:

Go to the project directory in terminal and run the following command to run the devtool:
react-devtools
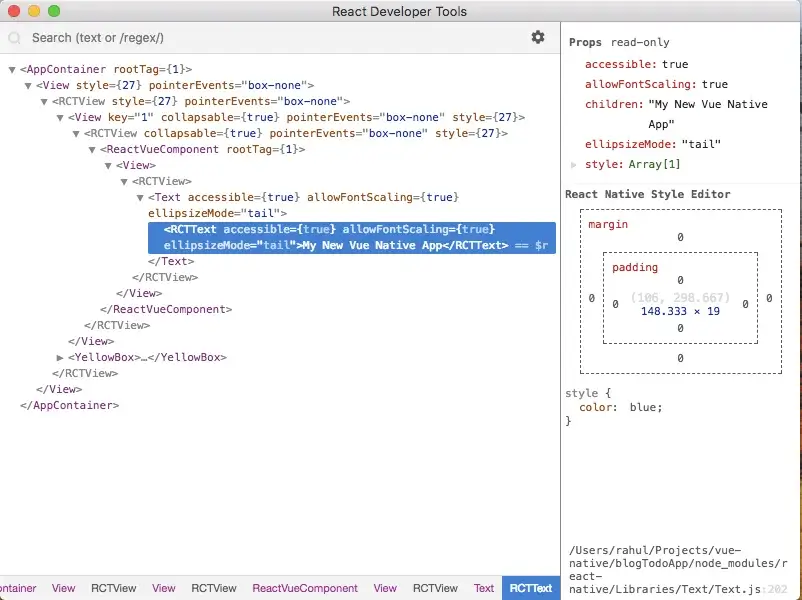
It will open the react devtools panel and then Click on Debug JS Remotely for debugging in your phone. Now you can inspect the dom elements remotely.
Similarly if you click on the Enable Live Reload it will automatically reflect all the changes you are making in your codebase.
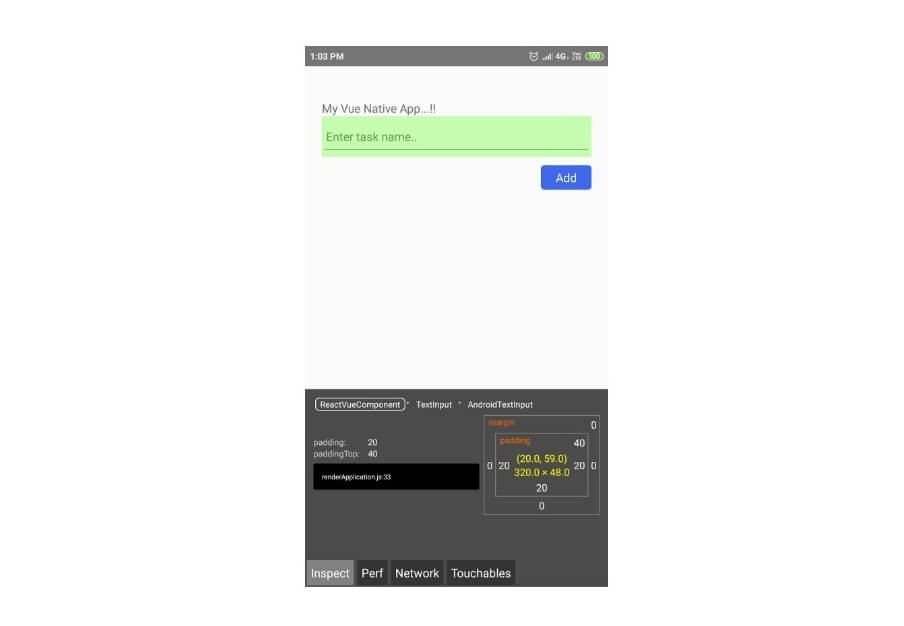
If you click on the Toggle Inspector it will open an inspector panel inside your app. Clicking on any element will show all the properties of the element. See the image below, Here a text input element is inspected.
Writing Code
The first thing we need to keep in mind that vue-native doesn’t use the html tags. The most basic component to create a User Interface (UI) is View. You can consider it as equivalent to div element. It can be nested with one another.
There are several vue-native components, events for the elements, device APIs(camera, geolocation etc.) that we need to learn. You can find them in their official documentation.
For Routing you can use Vue Native Router. Use this command to install:
npm install vue-native-router
					<template>
  <app-navigation></app-navigation>
</template>

<script>
  import { StackNavigator } from "vue-native-router";
  import HomeScreen from "../src/screens/homeScreen.vue";
  import ListScreen from "../src/screens/ListScreen.vue";
  const AppNavigation = StackNavigator(
    {
      Home: HomeScreen,
      List: ListScreen,
    },
    {
      initialRouteName: 'Home',
    }
  );
  export default {
    components: { AppNavigation }
  }
</script>
this.navigation.navigate("RouteName", {/* params go here */ });
Example Project
Here is a simple TODO Application as an example project which can help you to start with – GitHub link